
QuickBooks Print and PDF Repair tool help to resolve errors that come while printing PDFs, invoices, checks, etc. QuickBooks requires Microsoft components like MSXML, XPS document writer, print spooler service, etc to print documents. If any Microsoft component doesn’t work accurately, then you can’t print within QuickBooks and you will get a printing error.
Why we Face Printing and PDF Errors in QuickBooks
Before using the tool, you must know, what are the reasons behind the printing, and PDF errors in QuickBooks. this will help you to use the tool on the right path.
- This error occurs when the printing drivers are missing.
- When the framework is not able to communicate with the printer.
- It comes when the installation of MSXML is corrupted.
- Damaged XPS service.
- Folder access permission is limited.
- XPS document writer has no accurate Windows User Access permission.
What Can the Print & PDF Repair Tool Do
There are some errors that can be fixed by this tool.
- Your currently selected printer, Microsoft XPS Document, writer on XPS port.
- Can’t be able to print to the printer.
- Error: When QuickBooks can’t complete the current action due to a missing component or Missing pdf file component.
- When QuickBooks is not responding.
- If the PDF Converter shows offline.
- You are unable to print to the QuickBooks PDF Converter.
- The system is not ready.
- You can’t save it as a .pdf file.
- QuickBooks can’t be able to save your form or reports as a .pdf.
- QuickBooks freezes when you are trying to reconcile accounts.
- Print Driver Host for 32-bit Applications has Stopped Working.
- The unrecoverable error can be fixed.
- It can resolve QuickBooks PDF Converter Activation Error -20, -30, or -41.
- Error 1722 or 1801 when installing PDF Converter.
- This tool fixes problems printing transactions or reports.
How to Download & Use QuickBooks Print and PDF Repair Tool
Follow the procedure to download, and use the tool to fix printing, and pdf issue;
Step 1: Arrange all System Requirements
You have to make sure that you have all the needed requirements.
- Your system has good internet connectivity.
- Your system needs 1GB RAM and 512MB free hard disk.
- 1024×768 or higher screen resolution.
- 266MHz or faster computer processor.
- All windows operating systems are compatible.
Step 2: Download and Install QuickBooks Tool hub
- First of all, close QuickBooks Desktop, even all the running programs.
- Then, download the latest version of QuickBooks Tool Hub. (Latest version of tool hub- 1.5.0.0)
- The file will be on the QuickBooksToolHub.exe form.
- Save the downloaded file in a place, where you can easily access it.
- In the next step, open the downloaded file QuickBooksToolHub.exe file.
- After that, QuickBooks will show you some on-screen instructions, follow them.
- And agree with the terms and conditions.
- After that, a popup will display on your computer screen with the License Agreement, you need to read this and click on the Yes tab to accept it.
- Now you have to choose the destination location for QuickBooks Tool Hub and click on the Next button.
- Then, you have to click on the Install option, to start the installation.
- In the end, you should click on the Finish option.
- When the process is completed, you have to open the tool.
Step 3: Run the Print and PDF Repair Tool
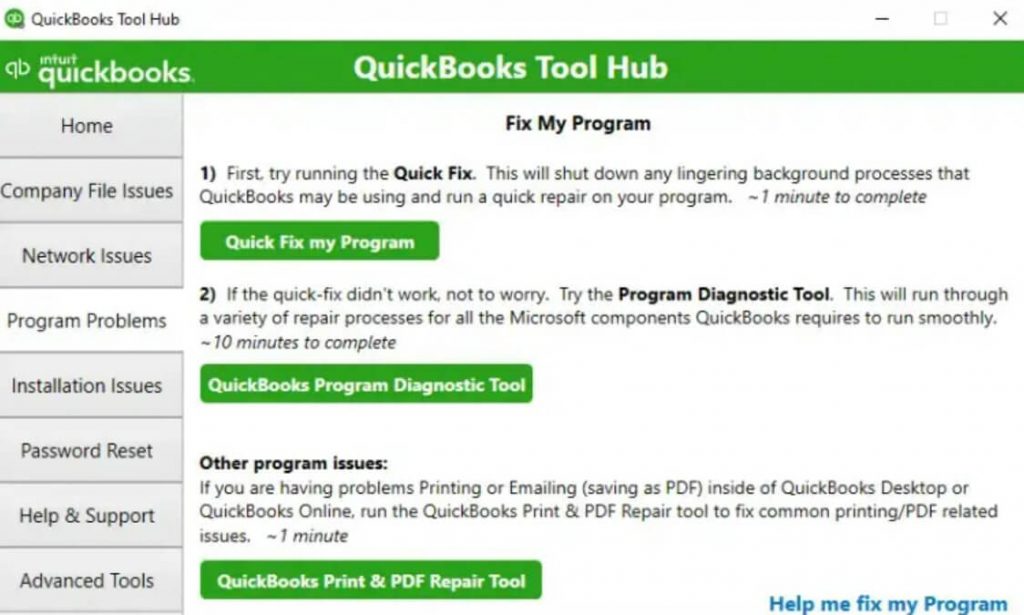
- From the tool hub, you need to choose the Program Problems option.
- Then, choose Run QuickBooks PDF and Print Repair Tool. It can get hardly one minute to open.
- After that, you have to try to print, email, or save it as a PDF from QuickBooks Desktop.
Alternative Ways to Fix Printing & PDF Issue in QuickBooks
Here are some of the alternative methods to troubleshoot the error. If the issues are not fixed with the tool then you can go for these solutions;
Method 1: Reset Your Temp Folder Permission
Follow the steps to reset the temp folder permission;
Step 1: Reset Your Temp Folder Permission
Follow these steps to fix the print and PDF errors.
- Firstly, you have to press the Windows + R keys to open the Run command.
- Then, you must type %Temp% and press the Enter tab.
- In the temp folder, press right-click anywhere and choose the Properties option.
- After that, click on the Security tab.
- Make sure that all the user names are showing on the Security option with full control.
- When the permission has been set to Full control, save as PDF again with QuickBooks.
Step 2: Ensure that you can print to your XPS document writer
QuickBooks uses the XPS Document Writer to save as a PDF.
- First of all, you have to open Notepad.
- Type Test and choose the File menu, then go to the Print option.
- You must choose the XPS Document Writer and click on the Print button.
- Then, type a filename and save it to your desktop.
- In the end, you have to go to the desktop and see the XPS document that you printed from the notepad.
Points should be kept in mind:
- To test the printing issue, you can print to your printer and check if you successfully print outside Quickbooks.
- If you are unable to print an XPS printer outside of QuickBooks then you should get help from your IT professional or Microsoft.
Method 2: Check to See if the Reconcile Window is Hidden
- Firstly, you have to select the Windows menu and see if your reconcile window is listed or not.
- Then, choose the Close All and start the reconciliation again.
Method 4: Test, Reinstall and Adjust Permissions for XPS Document Writer
Before starting, you should keep in mind some points.
(i) Intuit doesn’t support the Microsoft app and it is not responsible for these tools.
(ii) If you are unable to do these tasks, then contact your IT professionals.
Step 1: Test the XPS Document Writer and Print outside QuickBooks
- From the File menu, you have to choose the Print option.
- In the Print window, you must choose the Microsoft XPS Document Writer option from the list of printers, and click on the Print option.
- Then, save the .xps file to your system.
- After that, go to your desktop and search the .xps file:
- If the .xps file is there, open it. If you get an error while opening or if the file doesn’t show, then reinstall the XPS Document Writer.
- If the file isn’t there and you didn’t get an error while saving, a security setting may be the issue. It doesn’t allow printing and may delete the .xps file after it’s created.
- If QuickBooks faces a problem while printing, or if the XPS Document Writer isn’t available, then you have to install it again.
Step 2: Check the XPS Services are Enabled
- You have to press the Windows + E key to open the explorer window.
- Then, go to the Computer tab.
- Under the system group, choose the Uninstall or change a program option.
- You must choose the Turn Windows Features on or off option.
- After that, ensure that the XPS Services and XPS Viewer are enabled.
- If anyone or both are not enabled, then tick in both boxes and press the Ok button. After enabling both services, test QuickBooks to see if the issue is fixed.
- If both are enabled and you are getting errors regularly, then reinstall the XPS printer.
Step 3: Reinstall Microsoft XPS Document Writer
For Windows 8:
- On the top right corner, click on the Start Screen option.
- Choose the Settings option and click on the Control Panel then choose the Devices and Printers option.
- You must choose the Microsoft XPS Document Writer option and click on the Remove device tab.
- Then, click on the Yes button to confirm.
- From the toolbar, choose the Add a printer option, then choose to Add a local printer or network print with manual settings.
- In the Use, an existing port option, choose PORTPROMPT and click on the Next button.
- From the manufacturer list, you have to choose Microsoft and click on the Microsoft XPS Document Writer v4 option then choose Next.
- After that, choose the Replace the current driver option and click on the Next button.
- In the Printer Name field, choose the Microsoft XPS Document Writer.
- In the end, click on the Finish button.
For Windows 7/Windows Vista:
- From the Windows Start menu, you have to choose the Devices and Printers option.
- Then, choose the Microsoft XPS Document Writer option and click on the Remove device tab.
- You have to click on the Yes button to confirm.
- From the toolbar, choose the Add a printer option then click on the Add a local printer tab.
- You must choose the Use an existing port option.
- Then, select XPSPort(Local Port) and click on the Next button.
- From the manufacturer list, click on the Microsoft tab and choose the Microsoft XPS Document Writer v4 option.
- Click on the Next button.
- In the end, you have to choose the Replace the current driver option then click on the Next tab.
Step 4: Adjust Windows User Permissions for the XPS Document Writer
QuickBooks can’t convert the file to a PDF when the Windows user does have not permission to print to the XPS document writer.
- First of all, you have to open the Printers Control Panel in Windows.
- Then, press right-clicks on the Microsoft XPS Document Writer and choose the Printer properties(Windows 8) option.
- You must choose the Security option.
- And, choose the Everyone user group.
- In the Allow column, choose the Print option, and click on the Ok button.
- You have to navigate C:\Windows\System32\spool in Windows Explorer.
- You must choose the Printers option and click on the Properties tab.
- Then, go to the Security option and choose Edit then, click on Add button.
- After that, you have to type Local Service and press the Enter button.
- Then, ensure that the Local Service has Full Control and click on the Ok button.
- In the end, you have to open QuickBooks and try to create a . PDF
File. When the user creates the .xps files, the set
Step 5: Check the Security Software Setting
When you create a .xps file, the setting of security software like Norton antivirus or McAfee firewall can block it. So, you have to check the security software set to ensure that the .xps files are not blocked.
Step 6: Install or Repair MSXML 6.0
For Windows 8:
Follow these steps to repair MSXML 6.0 for Windows 8.
- Firstly, go to the top right corner and choose the Magnifying Glass opinion.
- Then, type Command and choose the Command Prompt option.
- Click on the Run as administrator tab from the bottom.
- Then, enter the password and choose the Allow option.
- In the end, type SFC or scan now.
For Windows Vista or Windows 7:
Follow these steps to repair MSXML 6.0 for Windows.
- Firstly, go to the Windows Start menu and choose All Programs.
- Then, click on the Accessories tab.
- You have to choose the Command Prompt option then click on the Run as Administrator tab.
- After that, enter the administrator password, when asked and click on the Allow button.
- In the end, type SFC or Scan now.
Step 7: Make a New Template for Your Form
These steps can help you to make a new template.
- First of all, you have to make a new template for your form.
- Then, change the template on your transaction.
- In the end, make your .PDF.
Step 8: Bypass the Print Spooler
- In Windows, you have to open the Printers Control Panel.
- Then, press the right-click on the Microsoft XPS Document Writer and you must choose the Printer properties (Windows 7 & 8) or Properties (Windows Vista).
- After that, click on the Advanced tab and choose the Print Directly to Printer option.
- Click on the Ok button then choose the Save option and close the Printer Properties.